Welcome to my traffic light restoration page. Please give the pictures time to load in order to enjoy the entire page.
This page will take you through a restoration of an Eagle traffic signal from start to finish.
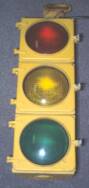
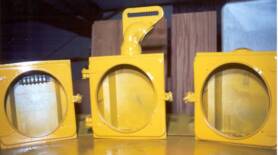
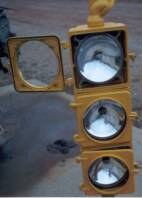
To the right is picture of an Eagle traffic signal that I restored for a private owner. He wanted the light repainted and wired so that it would function like a normal traffic light. He also wanted the cut-a-way visors with black on the inside. This is the way that I received the light.
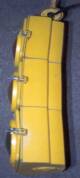
Upon inspection, I noticed that the light was severely bowed in the back. And it had some minor damage on the bottom of the light. Probably due to an impact with a tractor-trailer and a combination of being suspended from a wire for twenty some odd years. It was clear this light was in need of some "T.L.C." Short for Traffic Light Care.
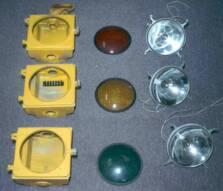
And so I started by disassembling the light right down to just nuts, bolts, fixtures, and lenses.
Next, I went on the Internet in search of parts for the light. Namely the the cut-a-way-visors and a brain to run it. I found a couple of really great sites that had just what I needed. I found the visors at Scott Signal Co. Wow! This site has everything from spare parts to entire signals for sale! Including a link for my controller to Lights to Go!
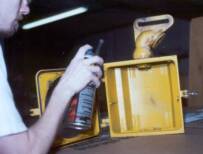
Then it was off to the local hardware store to buy some of that good 'ole school bus yellow paint for the signal heads and some black paint for the inside of the visors. Let the painting begin!
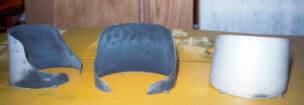
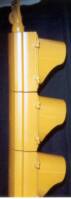
Yea! The visors arrive from Scott Signal!
Time to check the fit of the new visors.
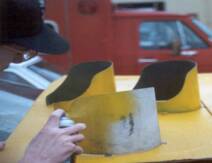
They fit. Thank goodness! Now let's paint' em.
The paint is dry, now time for some reassembly.
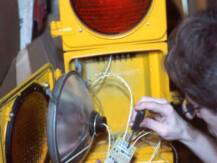
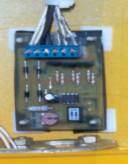
A little wiring to my Lights to Go! controller.......
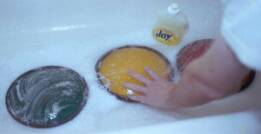
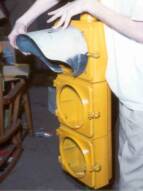
A little washing....
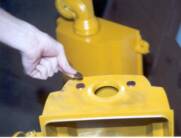
To get rid of "Stoplight Scoliosis" I stacked pennies between the lights to straighten it's crooked spine. In all it took about 12 cents.
It worked!
Straight as an arrow!
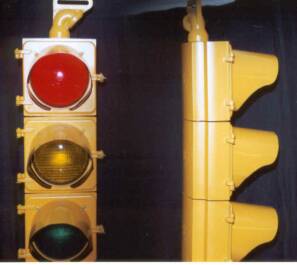
And here we have the end result. A beautifully restored working traffic signal. I hated to have to give this one back. It turned out quite nice.
A lot of people have asked me, "What is my paint of choice"..."what would be the best match for what I see on the street?" Well, here is your answer. I have been painting stoplights for years, and like most of you have been disappointed with the color in the end. The paint was either too orange or too yellow. After much trial and error, I think I have found the end all to the question, "What is the right color?"
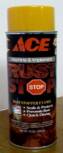
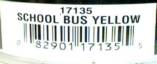

This is THE BEST match for your standard "Federal Safety Yellow".
It is an ACE Hardware brand. The barcode reads "17135 School Bus Yellow" You can't go wrong with this color in my opinion.
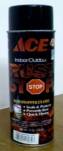
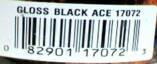
For visors inside & out, if you want a nice gloss finish, this is THE BEST match. It is an ACE Hardware brand. The barcode reads "Gloss Black Ace 17072".
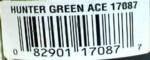
If green is your choice for that authentic older light, this is THE BEST choice. The barcode reads "Hunter Green Ace 17087".
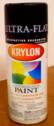
Maybe you aren't into "Gloss Black" and you might like a nice flat black for your visors...then this is THE BEST paint choice for you. The barcode reads "1602 Ultra Flat Black. It is a Krylon paint.
NOTICE:
I do not work for ACE Hardware, nor am I a paid endorser of their products, I am simply stating my opinion. I do not except responsibility for any problems that may arise from these choices of paint. Therefore no warranty is implied.
Here's another temporary quick fix tip:
If you happen to come up short for lens tabs,
use a spade terminal lug that normally used
for electrical wiring.

The Stoplight Zone
Restoration