The Good...The Bad... and the Rusty....
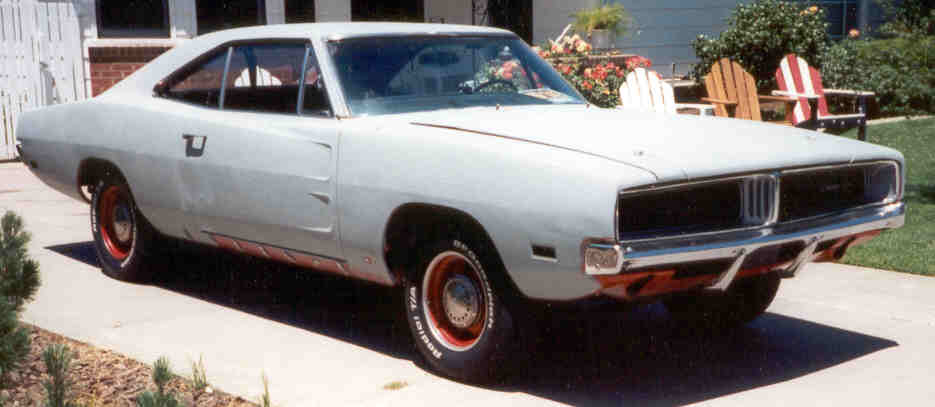
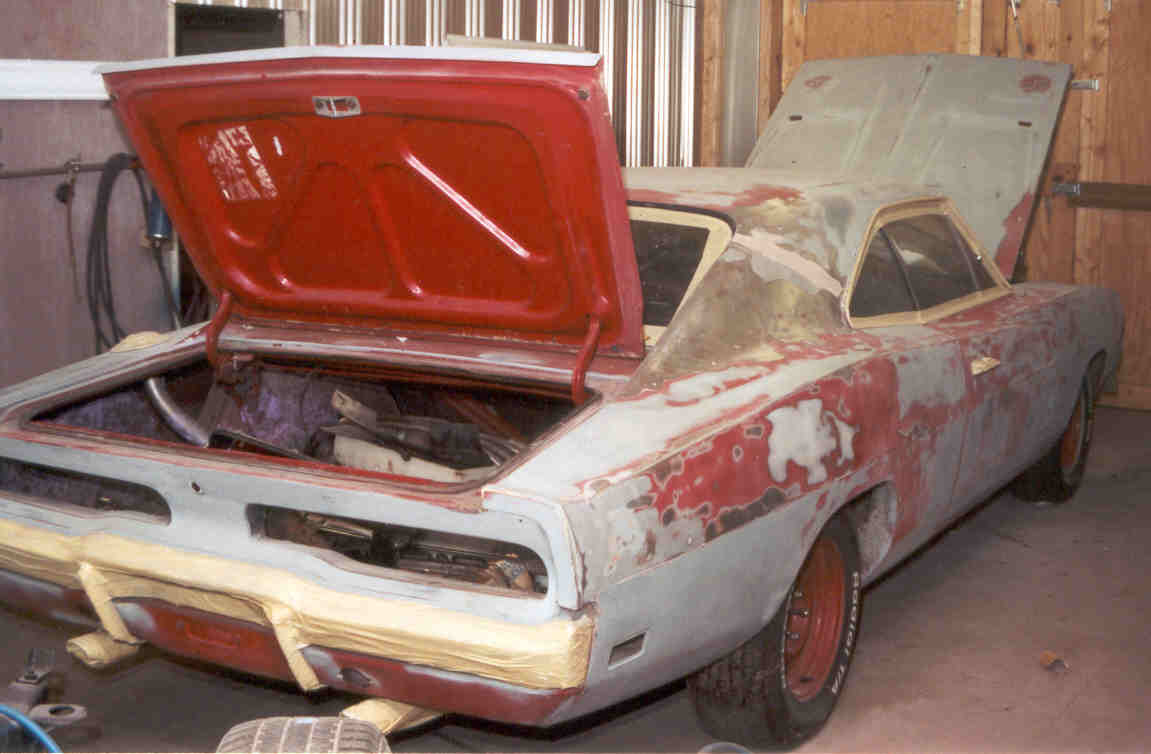
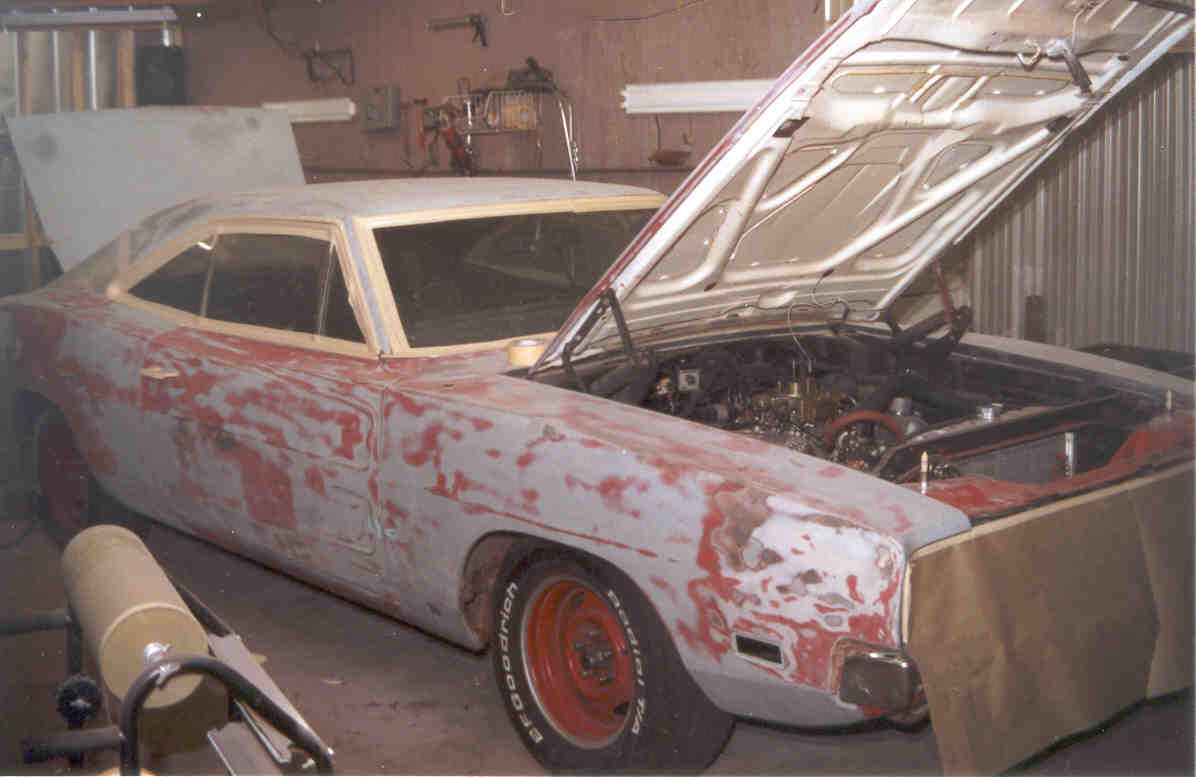
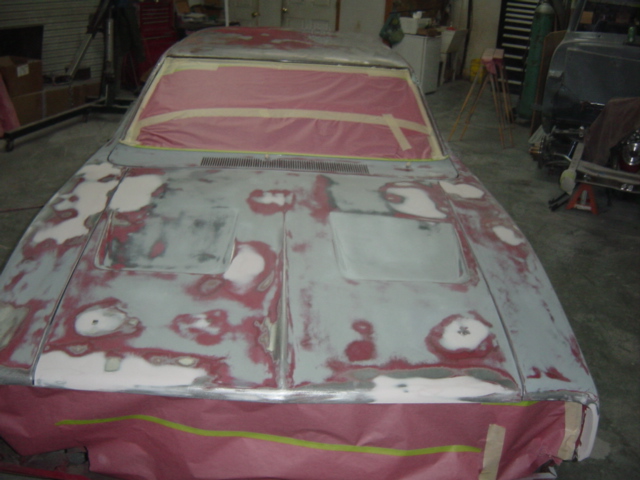
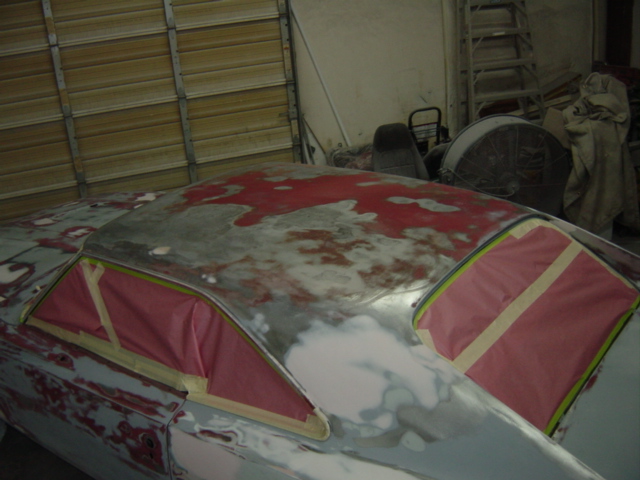
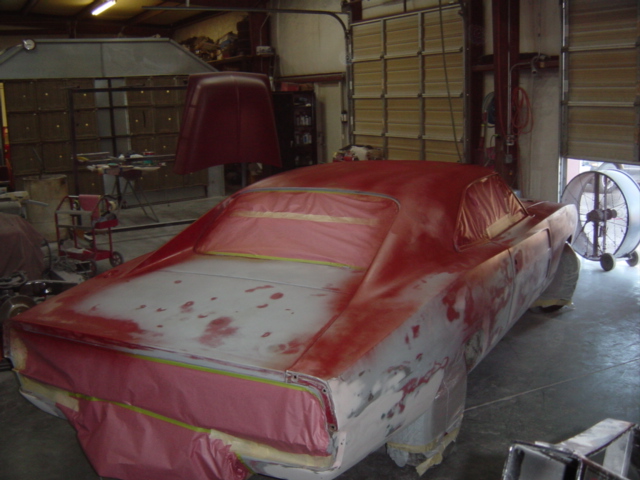


I guess it has to get worse before it gets better! Here we are at the very begining. Sanding, filling, priming, and sanding again. The body work begins...
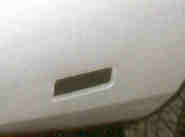
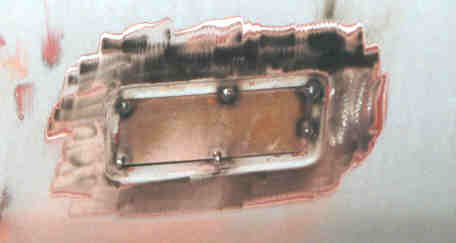
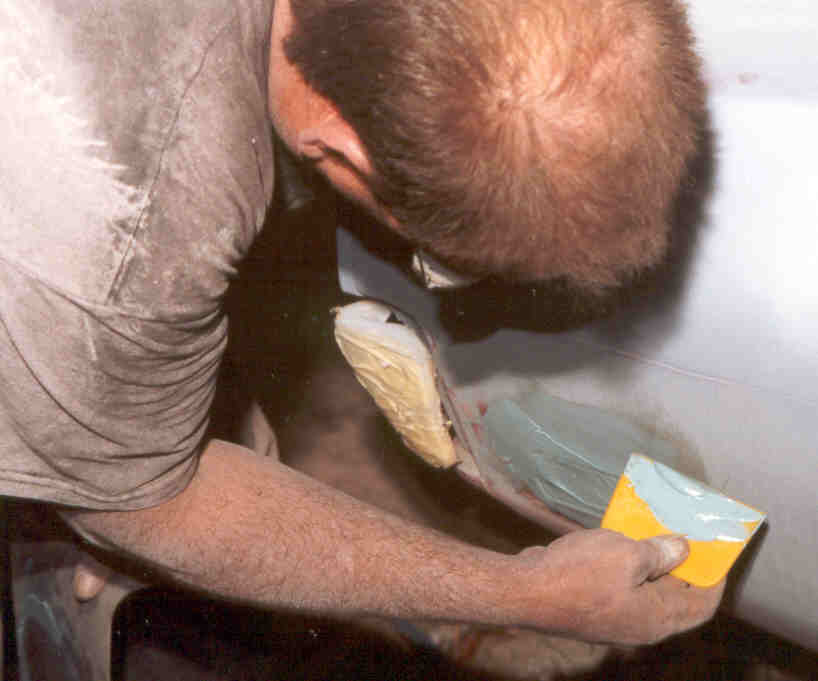
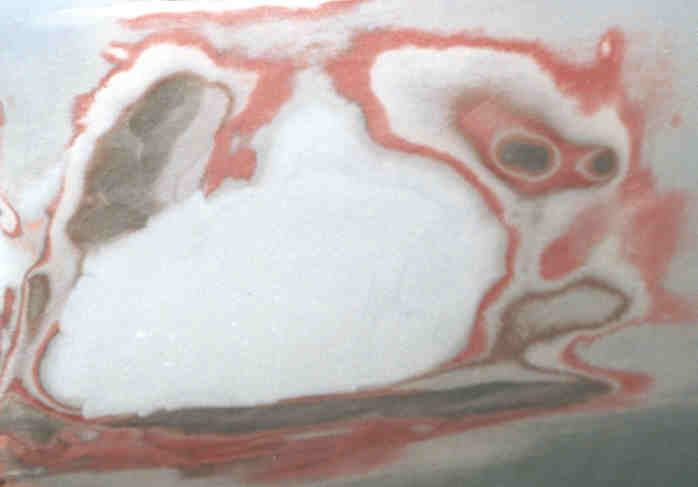
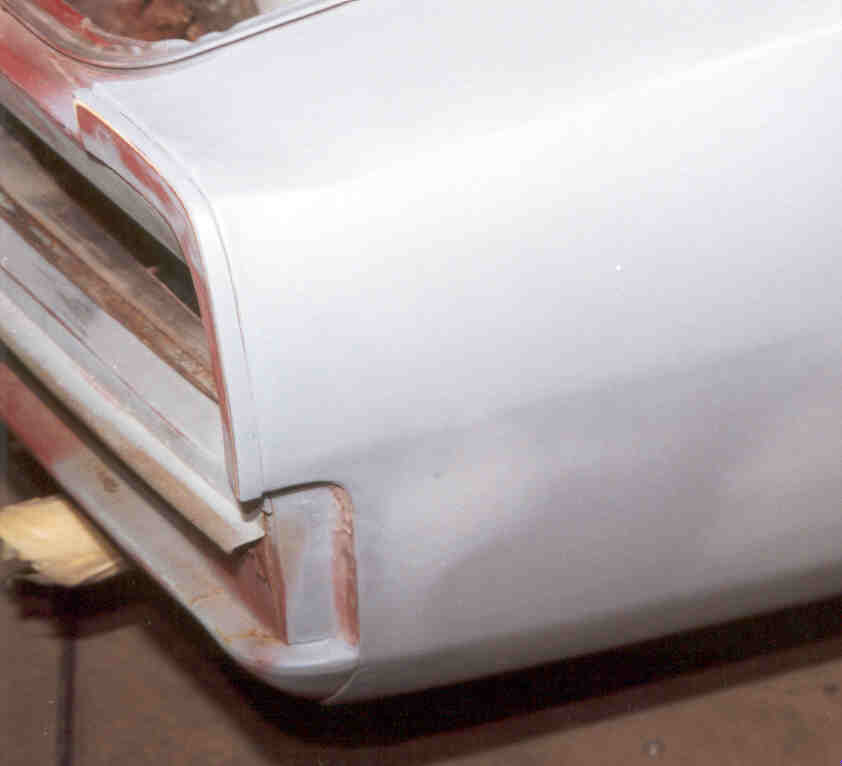
Pictured above are the fender marker lights getting welded up, bondo being applied, sanded, and primered over.
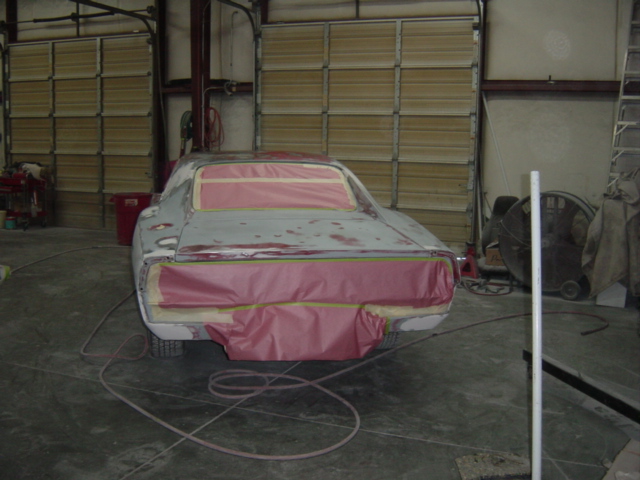
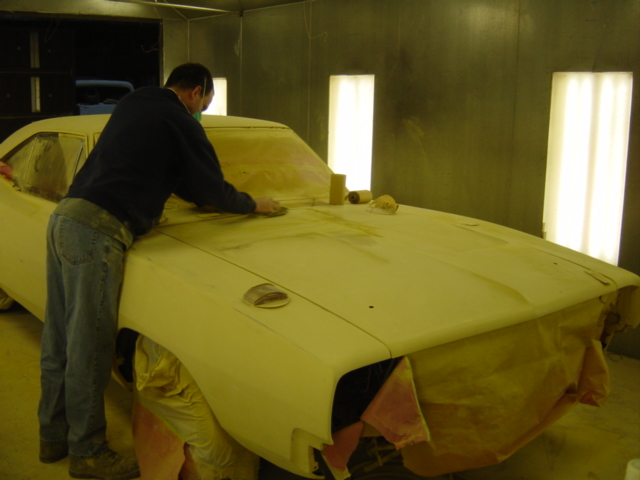
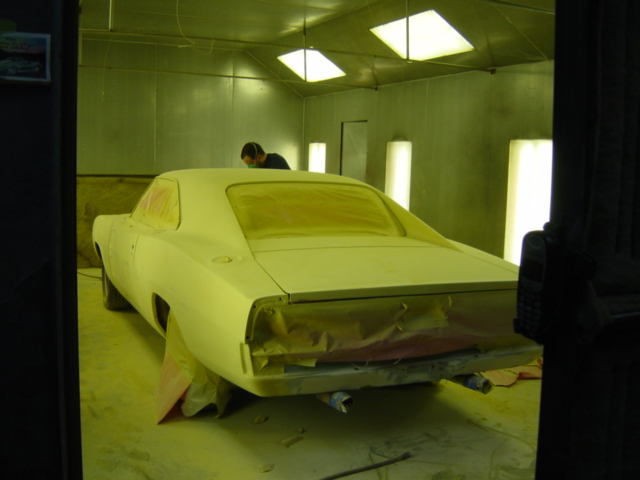
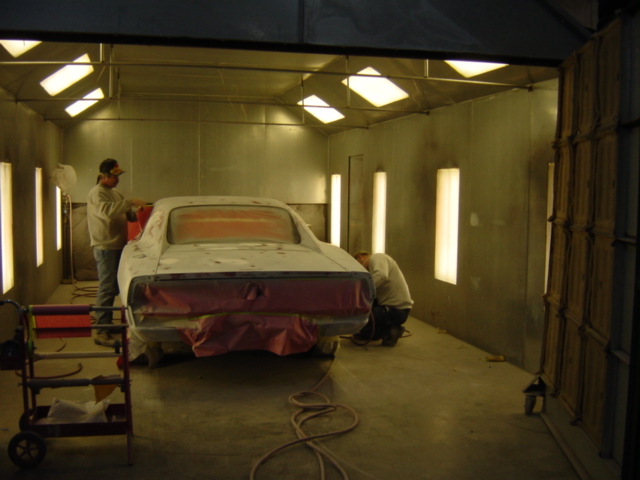
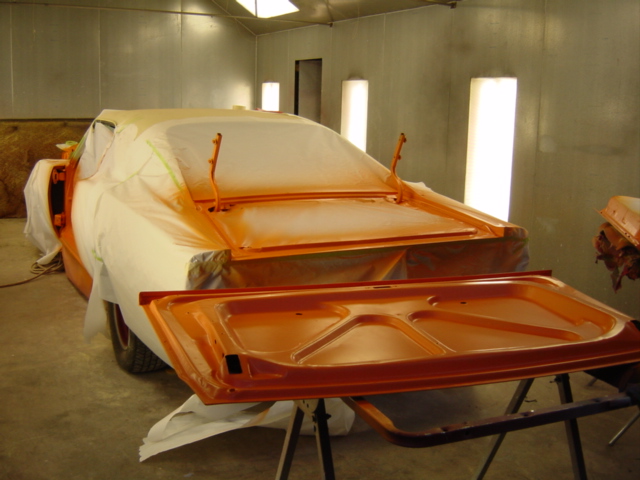
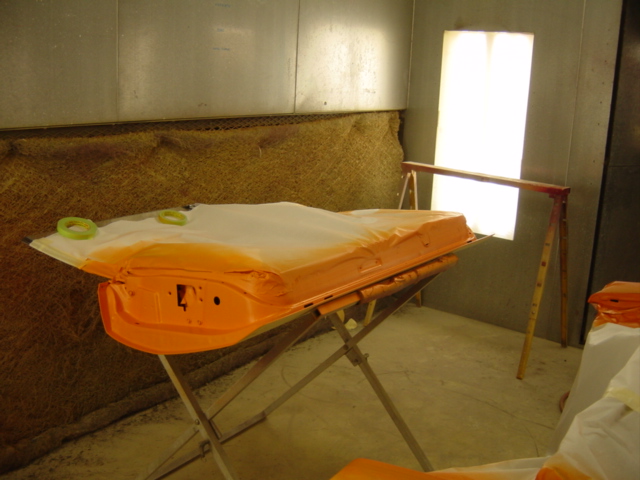
With the body work out of the way, to the paint booth we go! First, an anit-rust sealant / killer is applied to kill any and all rust that may be lurking, waiting to rear it's ugly head! then yellow primer sealer and sanding...then a nice flat gray finish primer is applied...then a few coats of that good 'ole orange paint...more sanding...a nice coat of clear coat for that nice shiny finish...and we're done! ....well with the painting at least!
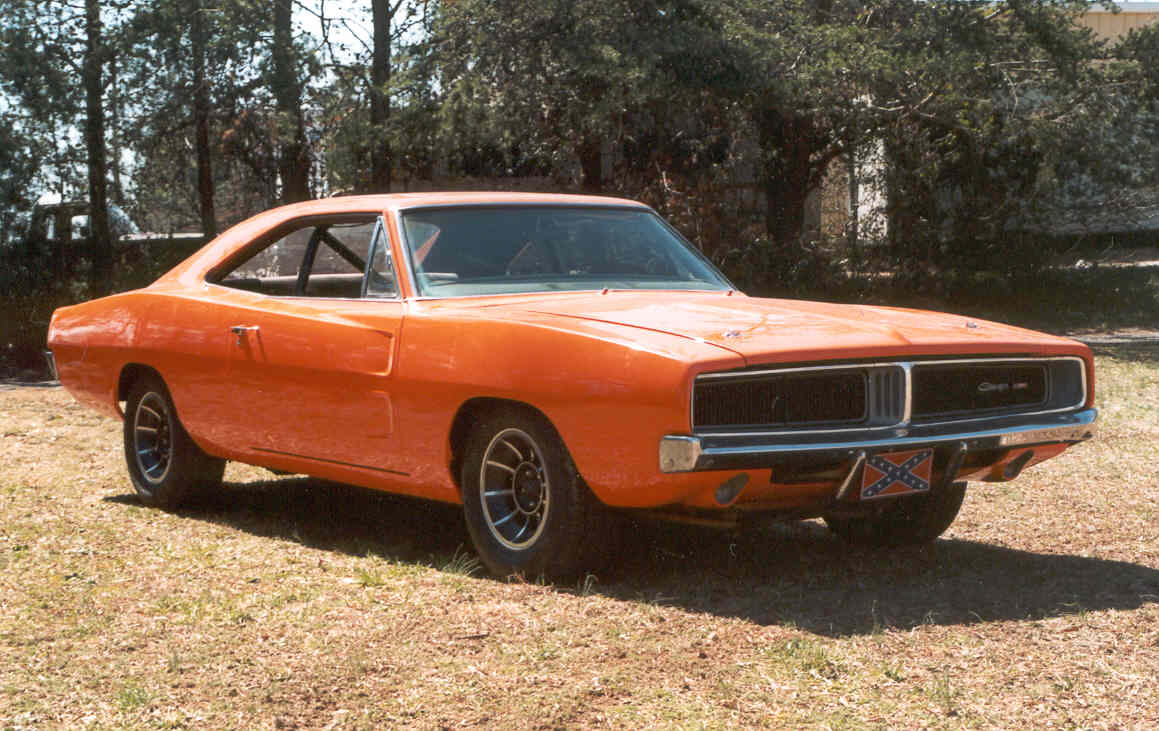
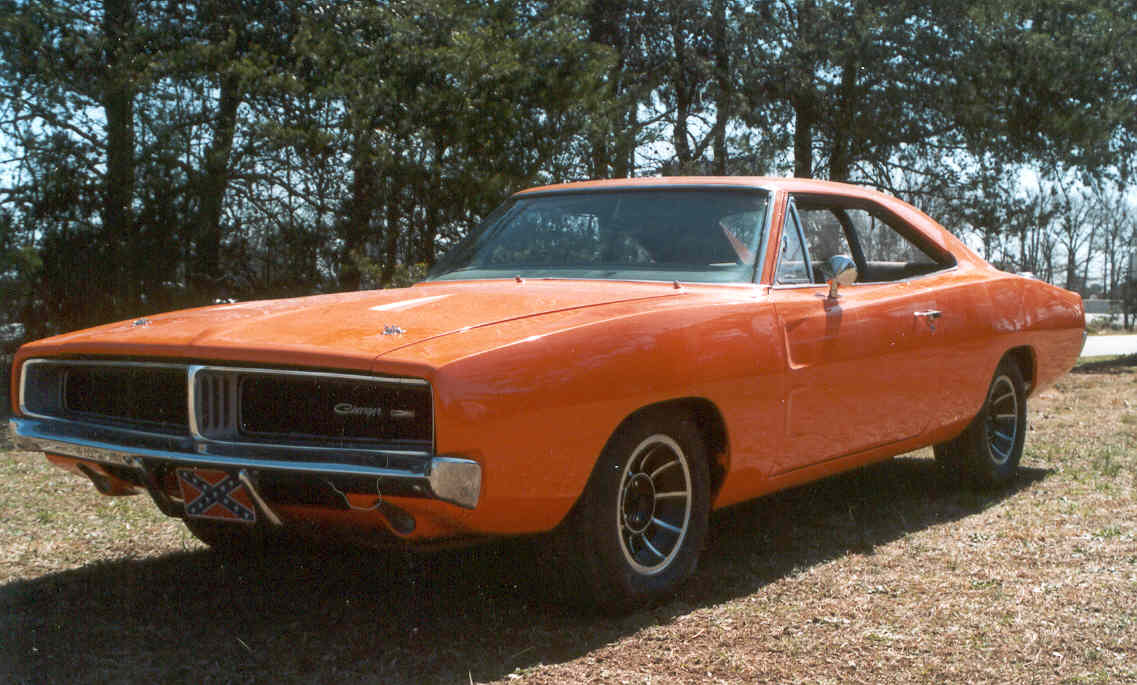
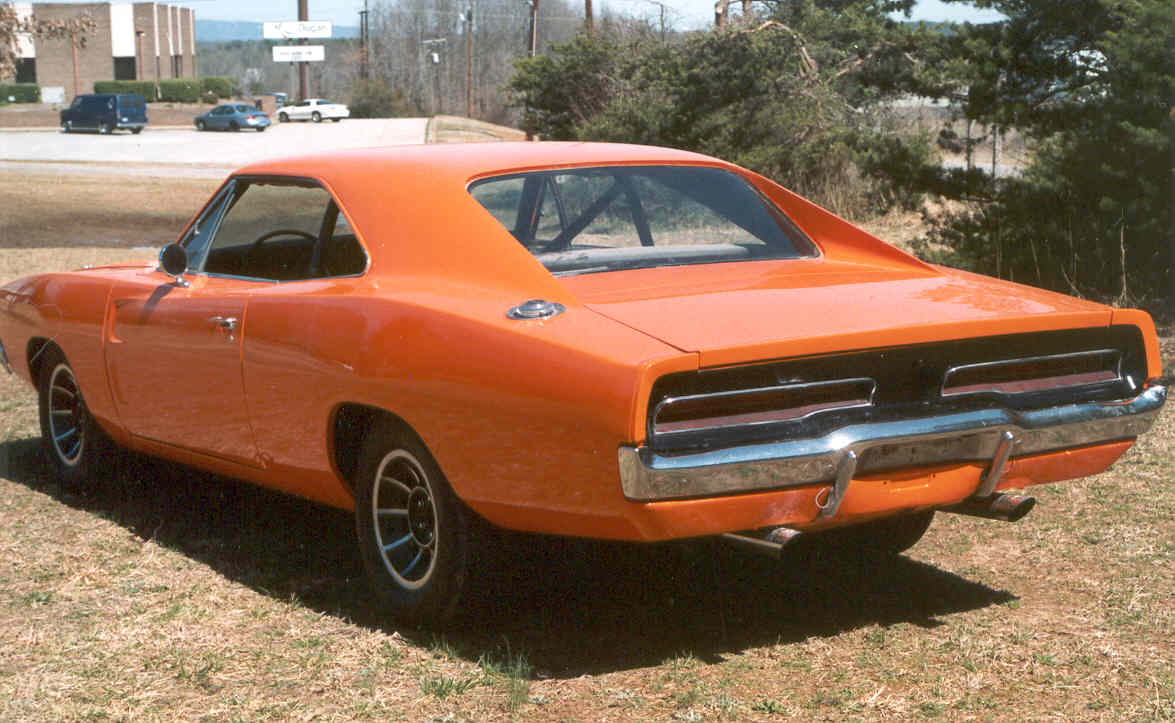
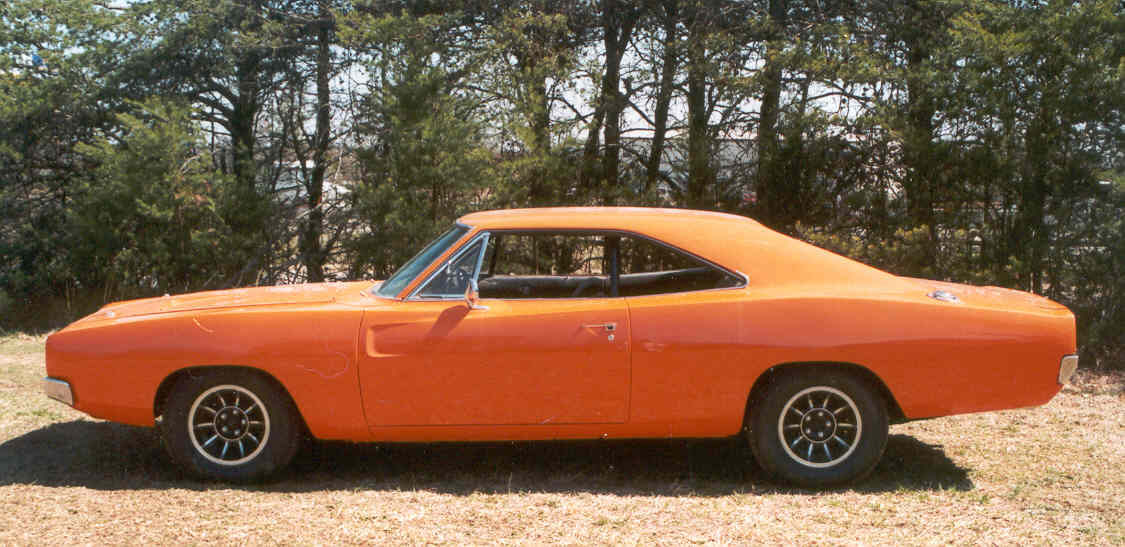
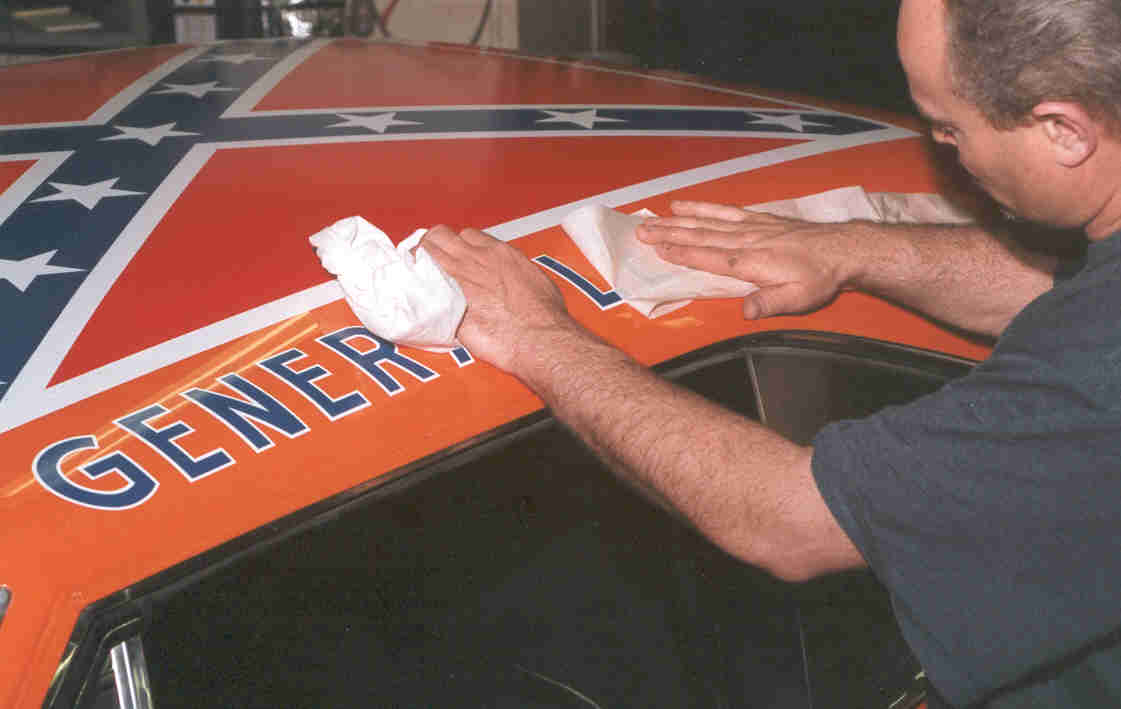
Let's take a break from all of the work and check out the new paint job...Thanks to the great guys at HOT ROD CONSTRUCTION for the great body work and paint!
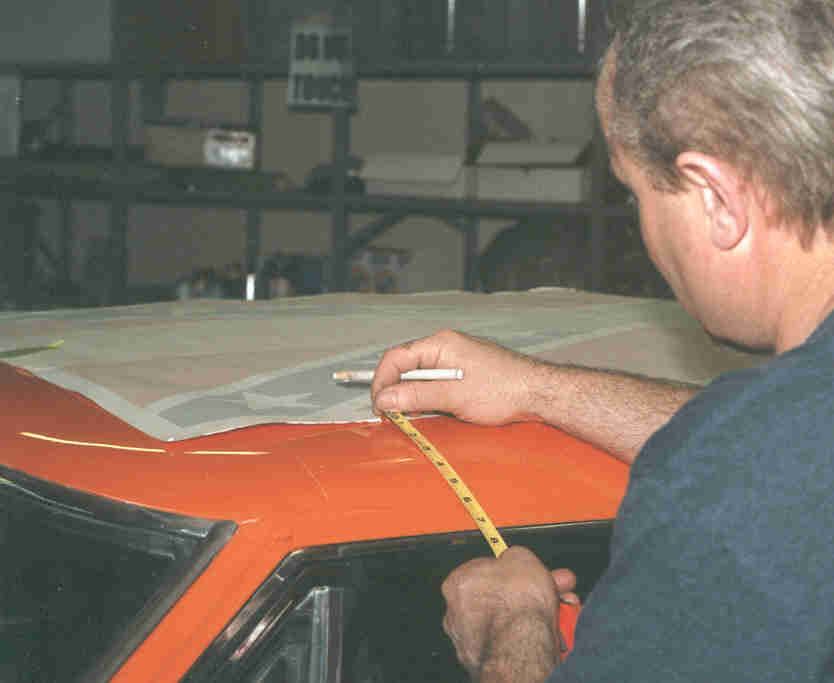
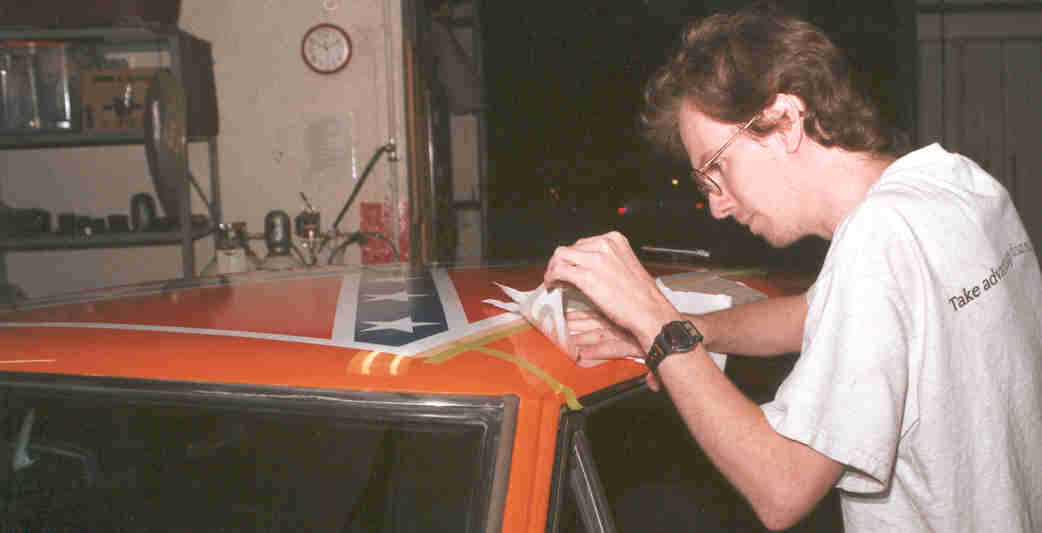
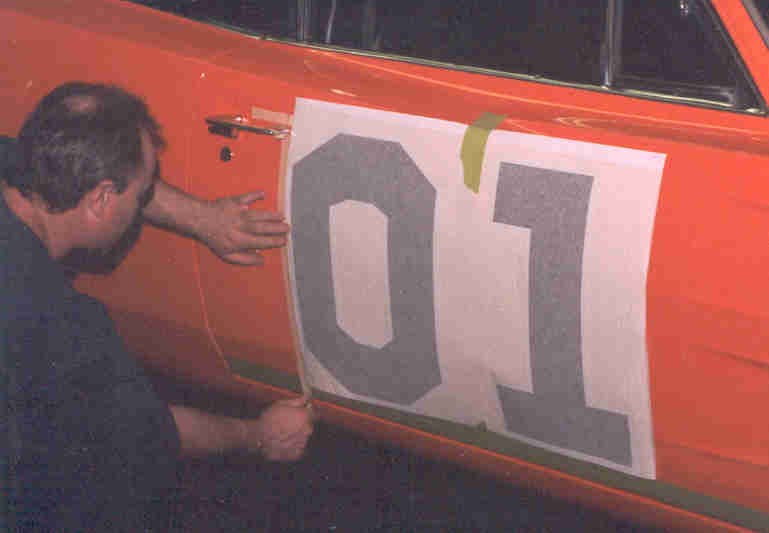
Now it's time to add the decals!
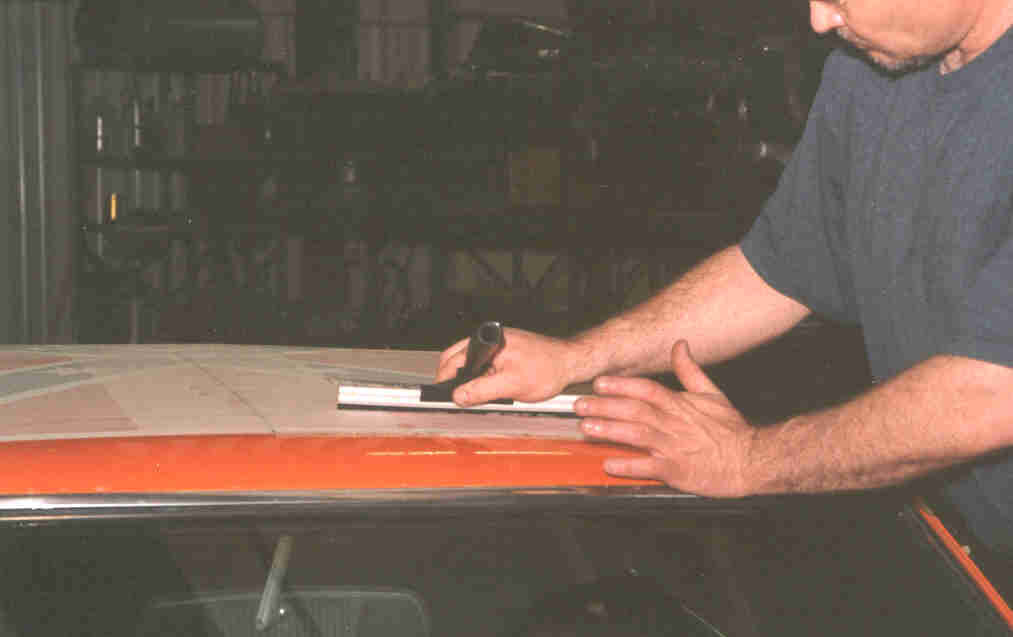
This is the most important part of any General Lee project, next to the paint job! You only get ONE chance to make it right! Special care must be taken in measuring and placing of the decals for the final look of the car. You've heard of measure twice, cut once in carpentry? Well, it's a good idea to measure four times, and stick once when applying decals. Above we see the measuring and marking off for final placement of the flag decal. Remember to use plenty of soapy water so as to provide a sufficient barrier for ease of movement. The flag decal is very large, so it is important that a squeegee be used to apply the decal and rid it of any air bubbles. It took at least seven, almost eight hours to apply these. It is a time consuming job, but worth the work in the end. Take your time and don't get in a rush. It takes two people to do the job, and it's better to have someone that has experience in applying vinyl decals, so as to avoid costly mistakes. As far as placement goes, I printed out different angles of other's General Lee's on paper, and transcribed them to my car.
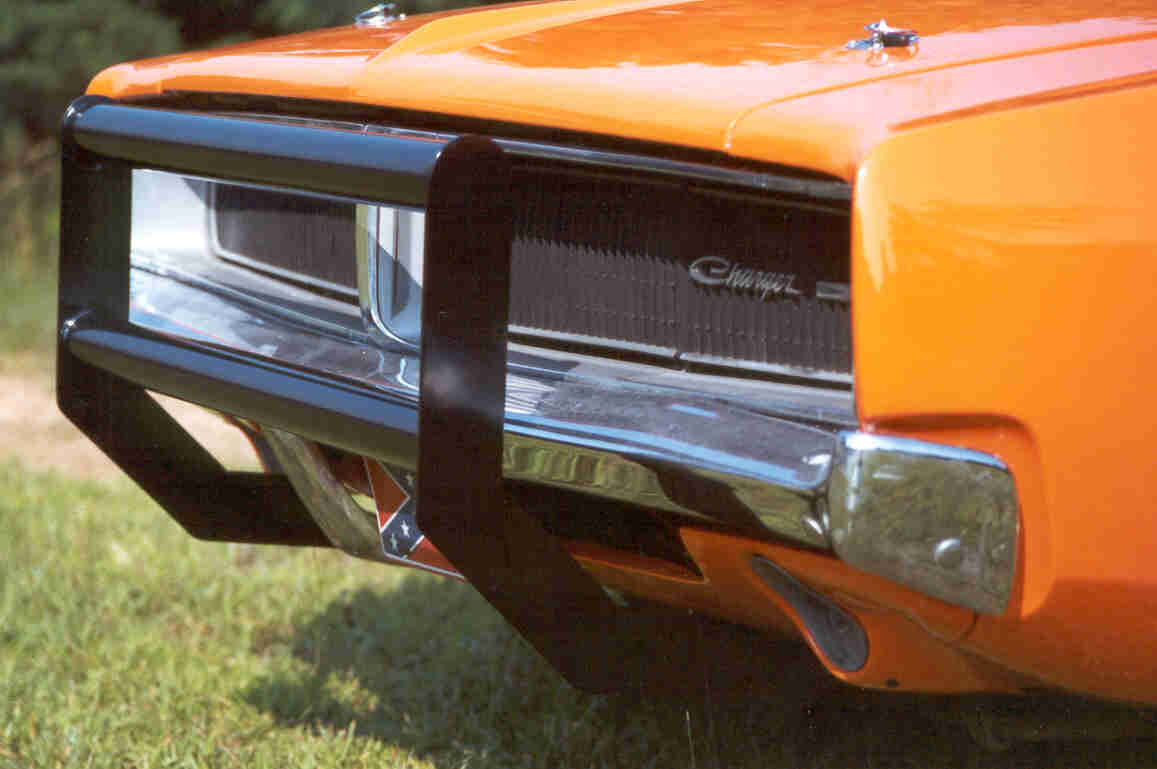
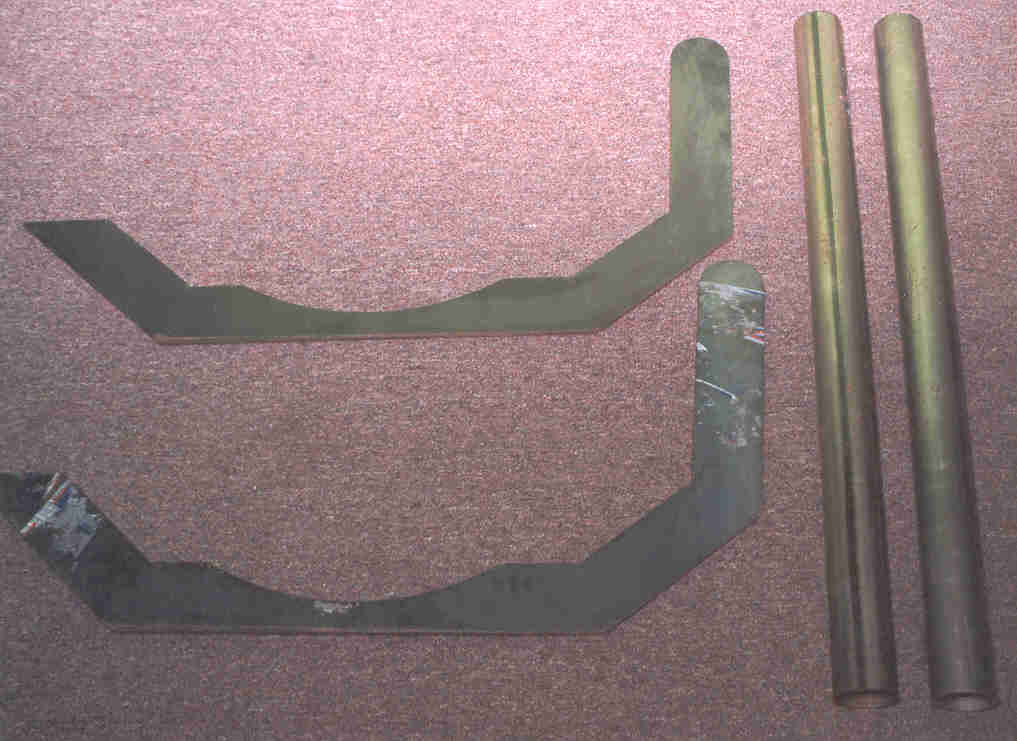
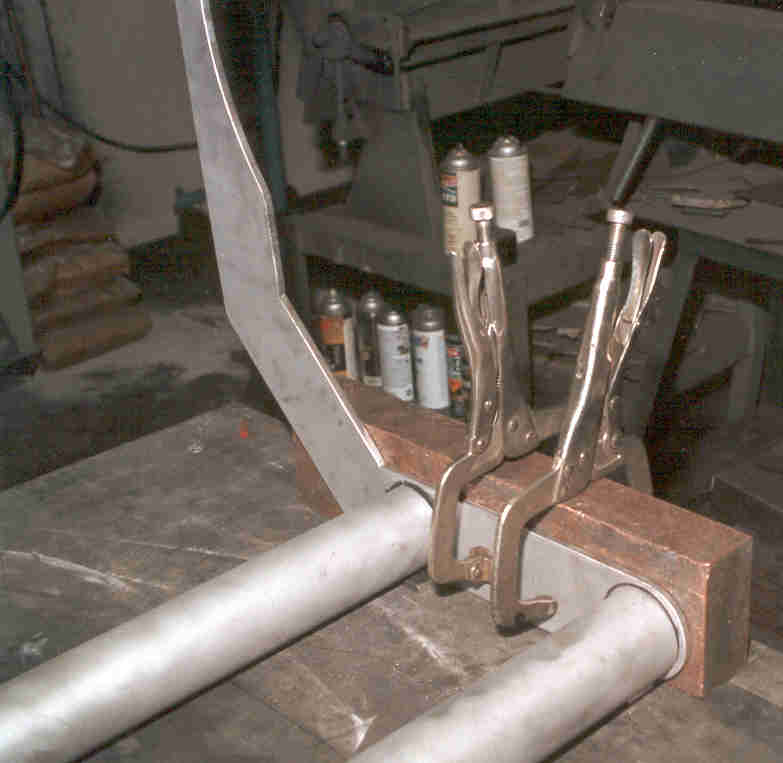
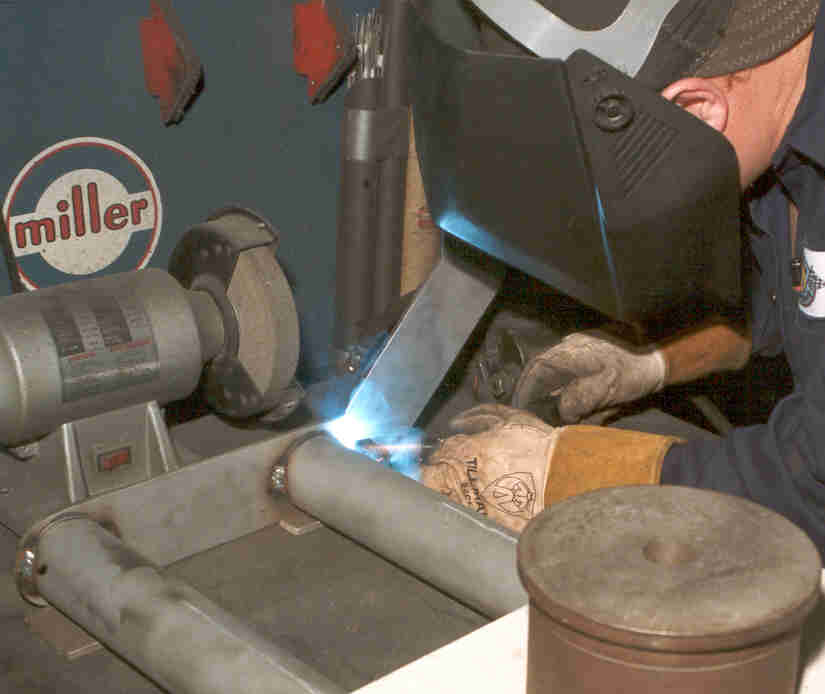
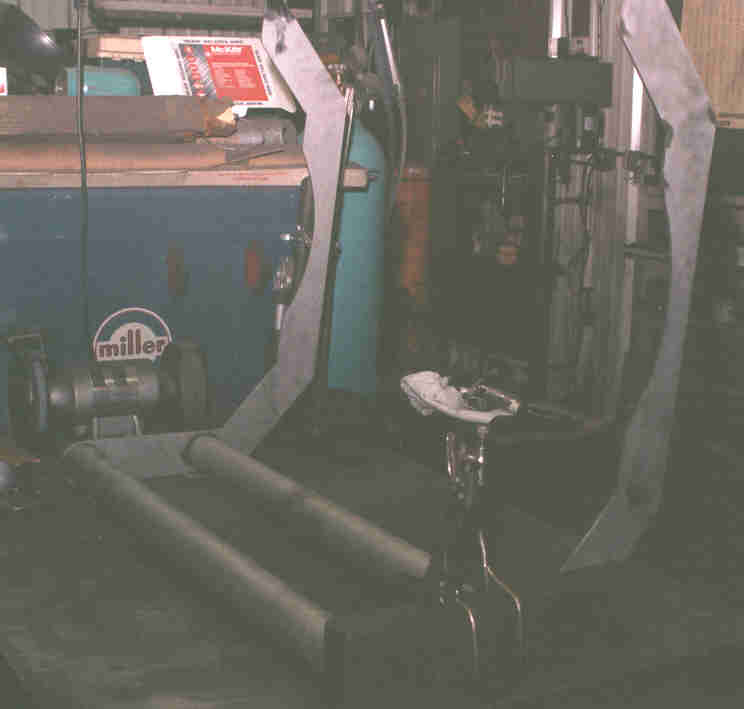
Here we see the building of the bumper guard / push bar.
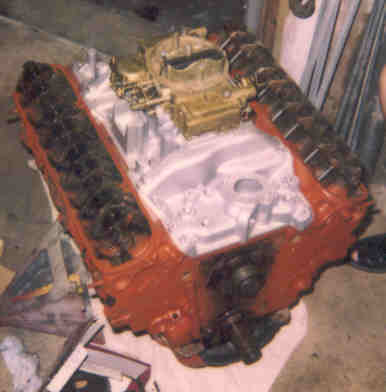
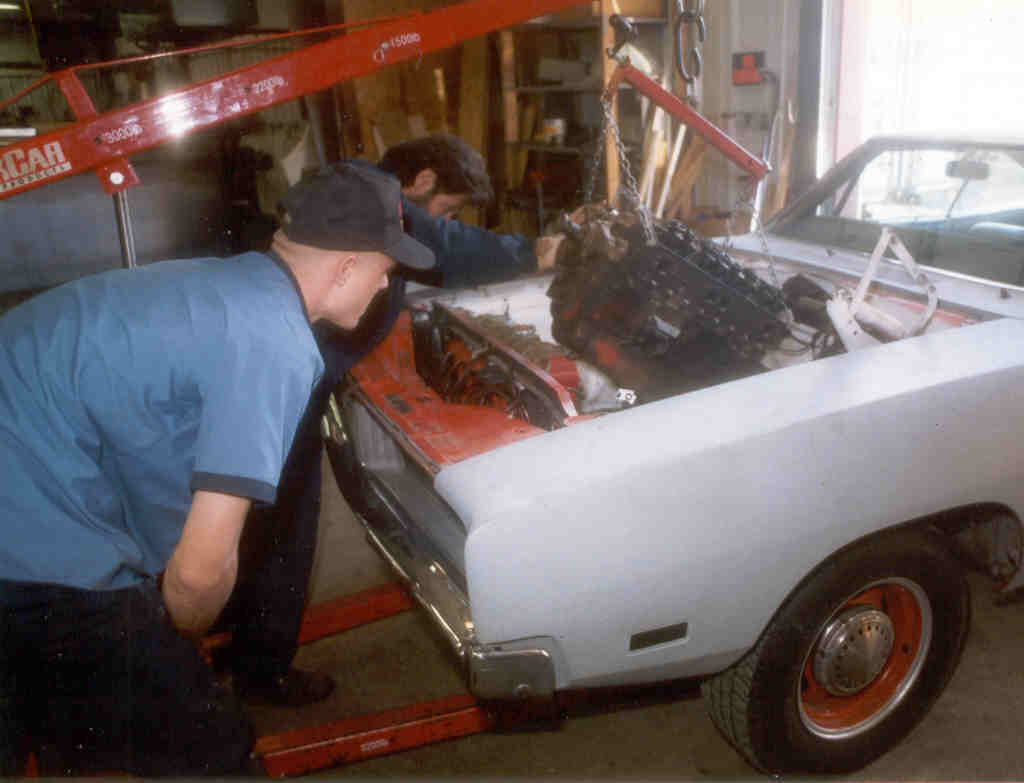
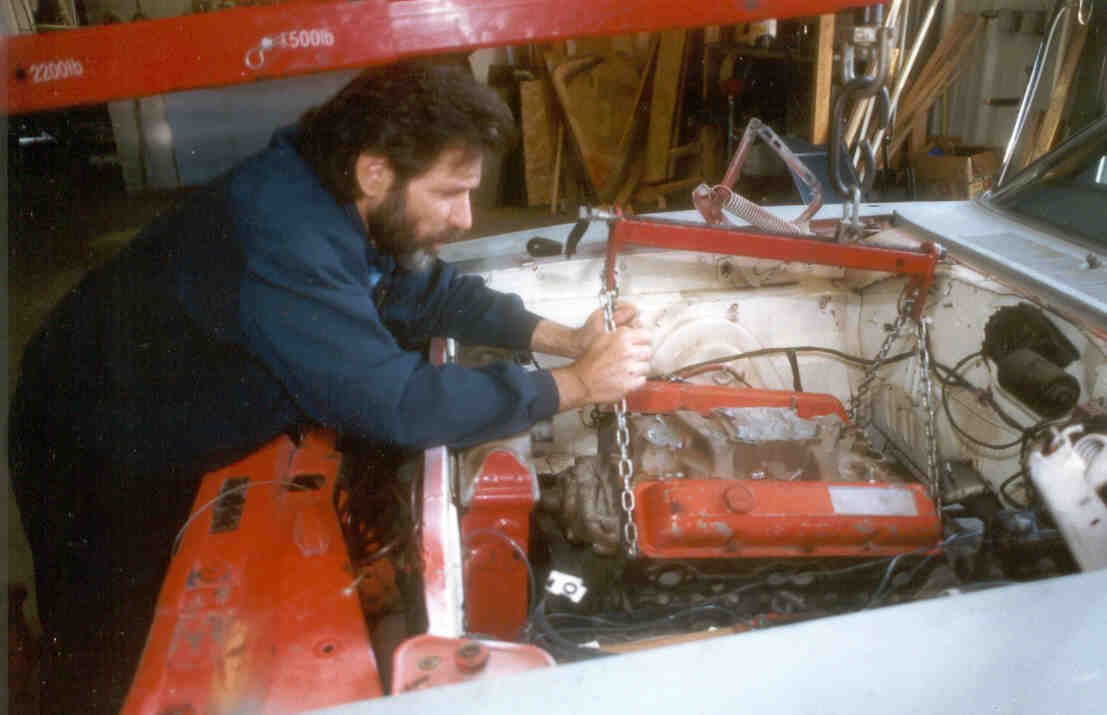
And here we have a shot of the new Mopar 318 Roller Motor getting built, and a shop motor and transmission being fitted to the car. This is so the motor mounts for the new motor will directly match up and bolt in.