Now, it was time to design a new dash. Some of the old gauges were unreliable, and some just plain didn't work, so instead of having them rebuilt, I decided to make and entirely new dash! From the ground up!
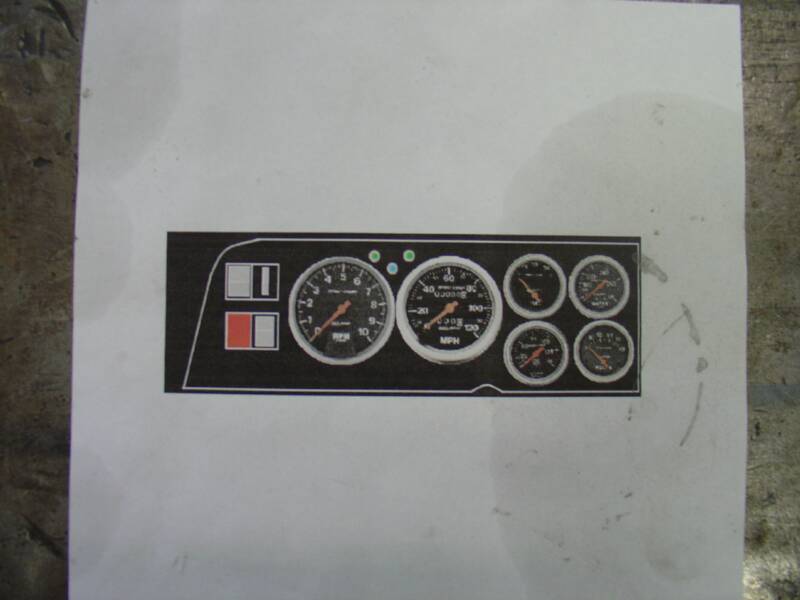
I started visiting websites that sold racing gauges, and time and time again, I came back to the same conclusion. That the AutoMeter gauges were the ones I wanted. Once I figured out which gauges to buy, I started lifting the pics off the site of the gauges, and moving them around in different configurations in Microsoft Paint. You've heard of Auto-CAD??? Well, I came up with a name for people who design stuff with Microsoft Paint. I like to call it MANUAL CAD!!! Above is an actual picture of the piece of paper that I printed out to start off with that I made from Microsoft Paint.
After careful measurements were taken of the space that I had to work with, I ordered the gauges, from a local rod shop and had a friend design the actual placement and correct measurements on AutoCAD. We then printed it out actual size, and then it was off to fabricate something out of nothing!

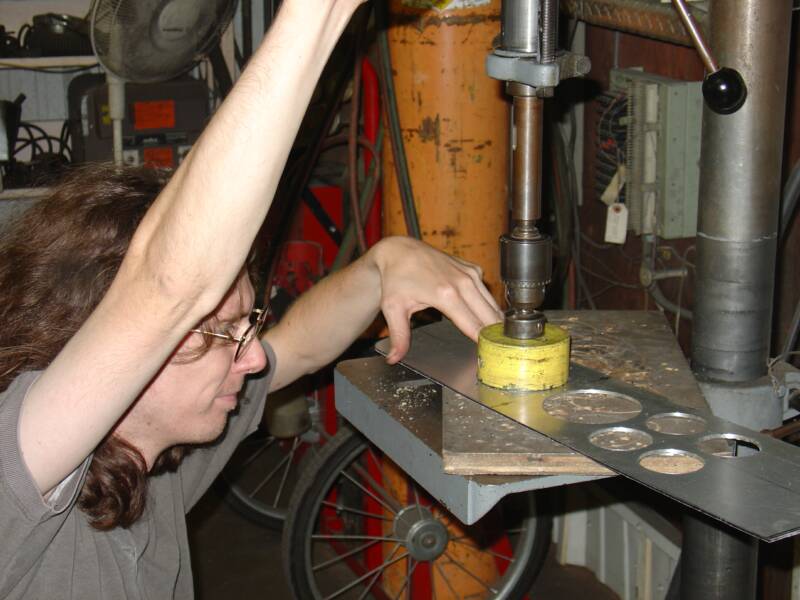

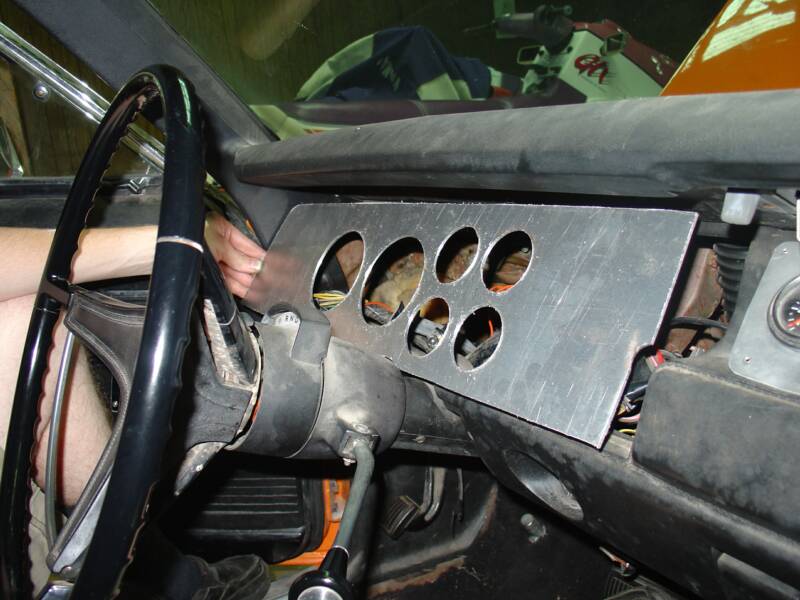
Cutting out the aluminum, marking cut out holes for gauges, drilling them out, and checking in the car for fit.
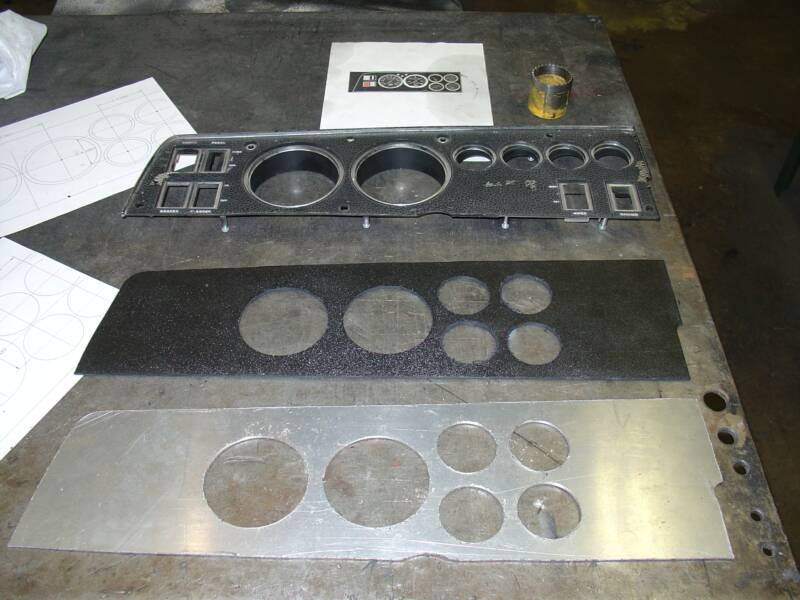
After all the test fitting of the gauges were done, it was time to make another finished piece out of plastic for the finishing touch! Left top, the original dash, then the finished plastic piece, and the then the aluminum piece that holds the gauges.
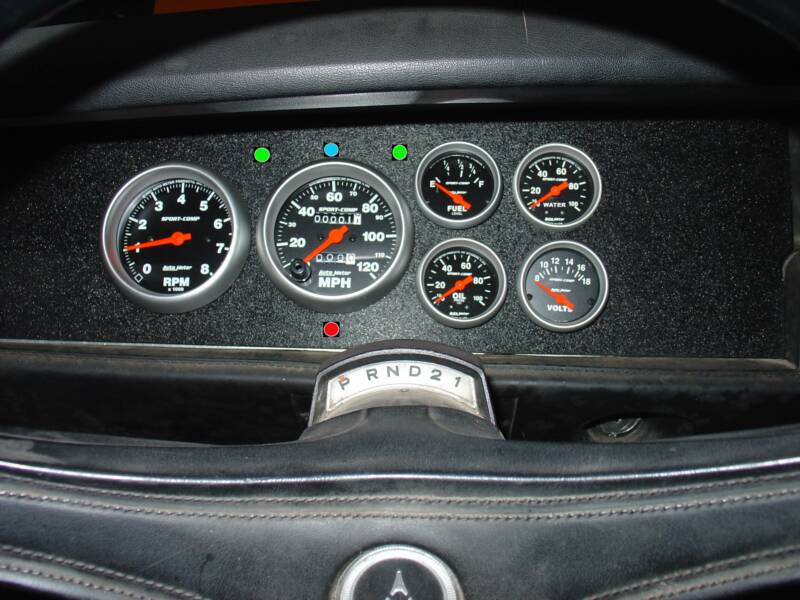
And the finished product! A nice brand new dash complete with turn signal indicators and emergency brake light. I am really pleased at the way it all came out! There is certainly something to be said for making something out of thin air!